Share
Pin
Tweet
Send
Share
Send

For work, we need to take:
- a white sheet of paper (A4 format);
- a template for drawing a circle (you can use a compass);
- a pencil;
- scissors.

According to the template, draw a circle on paper, which will be the blank for the future Christmas tree.

Cut it with scissors.

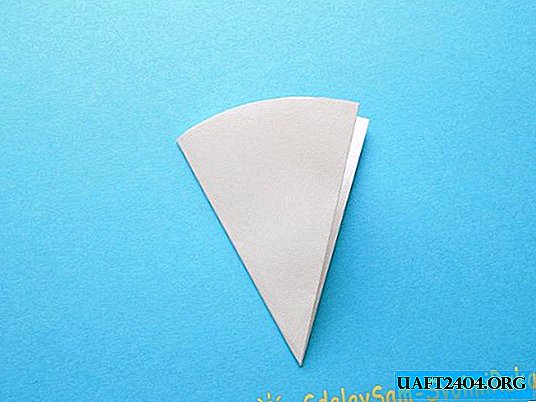
Fold the cut circle in half.

Then we make 2 more additions, as a result, our workpiece should have 8 layers.
We draw lines on it, placing them alternately from one or the other edge of the workpiece. The distance between them should be no more than 5 mm. The more often there are lines, the higher the subsequently the Christmas tree will turn out.

Now cut along the outlined lines.

It was the turn to deploy the blank of the future 3D Christmas tree. This should be done very carefully so as not to damage it.

Now it remains to pull the middle of the round billet and our craft is ready.

Such a Christmas tree can be hung by a thread, and it will become another decoration of the New Year's interior.

Share
Pin
Tweet
Send
Share
Send