Share
Pin
Tweet
Send
Share
Send
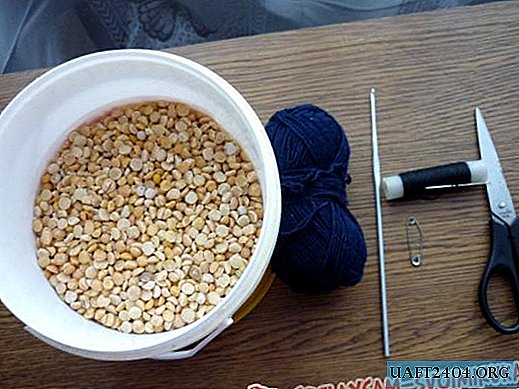
To make certificates, we take:
- Cardboard texture black and brown A4, take a sheet for the basics;
- Paper for scrapbooking, something in vintage style, as well as with male elements, we take in brown tones4
- Napkins, leaflets, flowers cut down from kraft paper and from beige cardboard;
- Lettering printed "Gift Certificate";
- Pictures are colored with coffee;
- White lace;
- Satin ribbons brown and gray in a cage;
- The beads are brown;
- Dried cinnamon;
- Whole bean coffee;
- Brown ribbon with pompons;
- Hole puncher;
- Circles carved from white paper;
- Scissors, pencil, glue stick, double-sided tape, ruler.

The standard size of the certificate is generally 10 * 20 cm. Therefore, cardboard will ideally fit the basics without a trace. Divide the cardboard sheet into two parts of 11 cm, and the third 7.5 cm.


We draw the bending lines and fold the base, we get a workpiece of 11 * 21 cm in size. So we prepare both bases, one brown, the second black.


Inside the envelopes we will have a pocket, 7.5 cm high. With a punch hole punch, the inside pockets are a hole punch.


Now, as for ordinary envelopes, we cut off two cuts of tapes, glue the front and back of each base on double-sided tape. From scrapbook paper, we cut off scrapbooking for each envelope, two in size 10.5 * 20.5 cm.


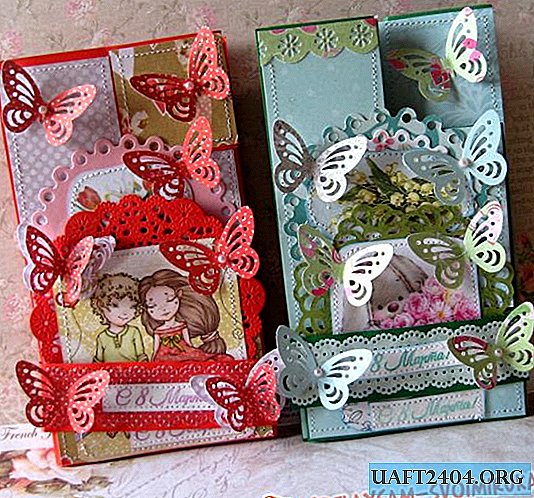
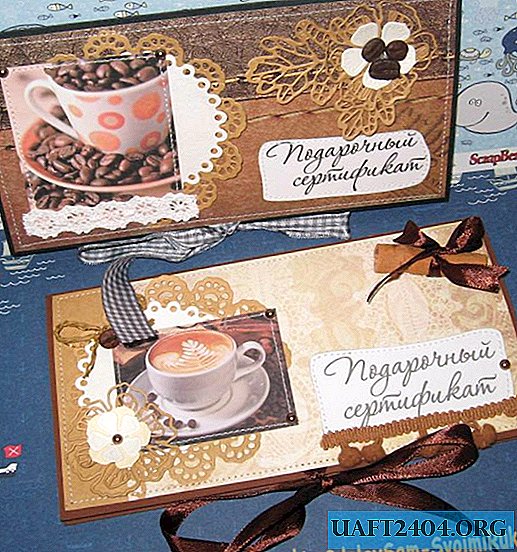
We immediately glue the rectangles on the back of the envelopes, and we will decorate the two front ones. On each we glue a napkin, then white circles, and on top of the picture. For each glue, the inscription "Gift Certificate" is cut out.


We sew each envelope in the back, also sew the front parts, everything that is glued.


Now we glue these parts to the basics and also sew.


It remains only to glue a little decoration, so that it is not nagly, but also with taste. Envelopes for certificates are ready. Thanks for your attention!


Share
Pin
Tweet
Send
Share
Send