Share
Pin
Tweet
Send
Share
Send
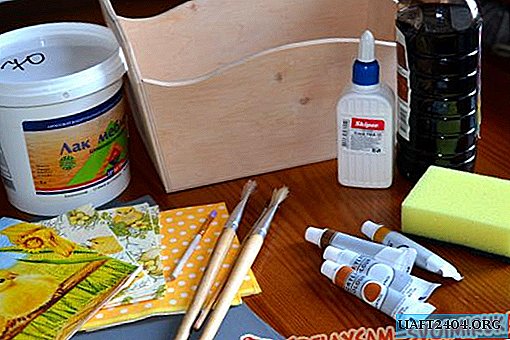
Materials for work:
• Folder - organizer - 1 pc.;
• Printouts of drawings - around the perimeter and center of the front side of the folder;
• Openwork braid - a few pieces;
• Rope from the blinds - scrap;
• PVA glue, glue "liquid nails", paint "gold", white gouache, eyeshadow, rhinestones, scissors, brush.
Stages of the work:
The first stage: preparation of the basis.
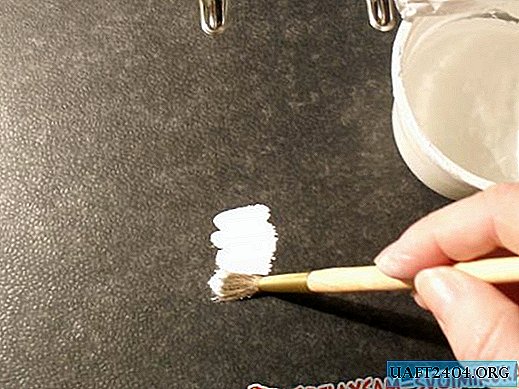
Paint the front side of the folder with white gouache.
We print out pictures of straight and corner paper lace, cut it out.

We glue PVA lace along the perimeter of the cover, combining angular and straight patterns.

We print out the picture we like for the center of the front side, outline its outline.

On all edges of the front side of the folder we apply gilded paint. On the entire binding of the folder, we also apply gilding.


The second stage: we frame the perimeters of paper stickers.
We take glue "liquid nails" and a piece of rope from the blinds.

Glue is poured into the small porch. Dipping a few beads in the "liquid nails" glue the rope around the inner perimeter of the paper lace, carefully pressing them to the surface of the folder. Gradually moving the little porch, lay out the rectangle from the rope.

Glue the center image on the front side of the folder, combining the edges with the perimeter outlined earlier.

We frame it with beads of a piece of rope blinds.

The front side voids are tinted with eye shadow, overwriting them with white paint.

Third stage: apply volume.
We take openwork lace of dark and light tones.

Eyeshadow tinted light braid.

We cut large lace lace into pieces.

Dip the pieces of braid in white gouache so that it fills all the gaps. Sushim.

We matte eyeshadow using the color of the previous tint.

We apply glue "liquid nails" to the inner part of the braid and fill the voids of the front side with it.


With gold paint we form the brightness of the braid, applying it to some sections of unpainted braid and on a raised hill.

The fourth stage: decorate with rhinestones.
We take several large round rhinestones and three oblong.

We do not often apply rhinestones on the surface of the braid and in voids, using glue "liquid nails".

This is how the organizer folder becomes a worthy family memory book. Now everyone who you propose to get acquainted with the precious information will carefully consider the cover and admire: how beautiful! how simple! Such a beginning of acquaintance with history will undoubtedly arouse respect for the internal content.
Share
Pin
Tweet
Send
Share
Send

