That invitation is a kind of "calling card" of each wedding event. Therefore, it can be made exclusive and thereby please all those invited.
The invitation card presented below is simple enough. The quilling technique is used, in which it is necessary to use special paper for quilling and a tool for forming parts. But if you don’t have such a tool, then you can use an ordinary toothpick, which will also do a good job of rolling up a roll of it.
For work, you should take:
1. White cardboard A4.
2. Paper for quilling - white, black, burgundy.
3. Glue, scissors, quilling tool (or toothpick).
From a sheet of cardboard we make the basis for a postcard. To do this, gently bend the cardboard in half. The foundation is ready.
First, we will do all the details for the groom. Twist the roll of black paper.
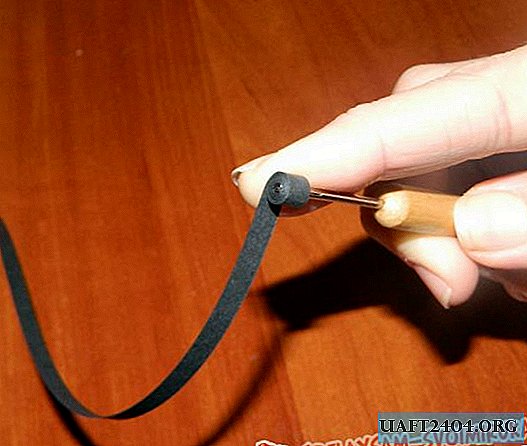

Dissolve it.

Press along the edges so as to get the shape of a rectangle.

Such items need 4 pieces - 2 for panties, 2 for a shirt.
In the same way, we perform another piece of white quilling paper.
Now we connect together 2 black and 1 white rectangles and fasten the black piece of quilling paper along the contour.
To complete the head, take black quilling paper and carefully form a circle, fix the edges with glue.
To complete the butterfly, you need to form one tight roll, and two to dissolve and give them the desired shape as in the photo.
Similarly, we carry out all the details for the bride. For the dress, we form 2 rolls of the same size, 1 large roll (for the skirt). We also form a contour of black paper for quilling.

Now we fix all the details to the base. Let's start with the head of the bride and groom. Lubricate them with glue, then attach to the white base. Then attach the hair of the bride and veil.

We fix the groom's bow.

Then all the other parts in sequence.

It should be noted that this option of a do-it-yourself postcard may become suitable for congratulations to the newlyweds.

A very unusual and original DIY wedding invitation card is ready!

