Share
Pin
Tweet
Send
Share
Send
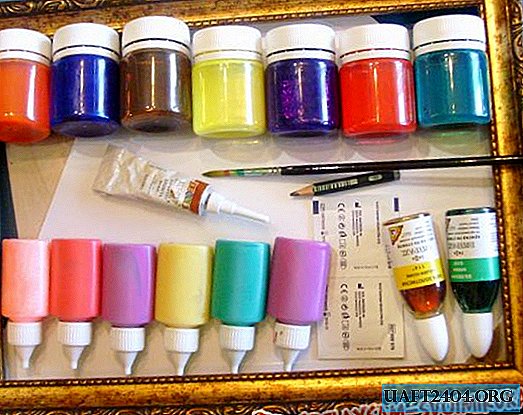
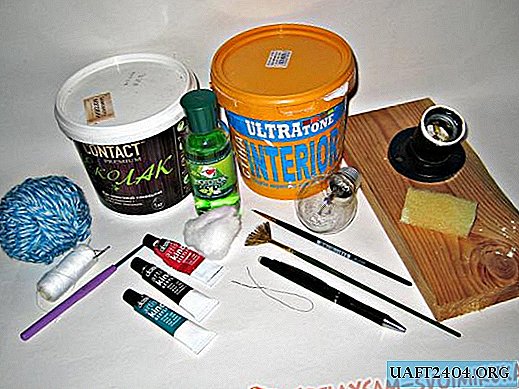
We will prepare the materials:
1. Light bulb.
2. Stand.
3. Acetone.
4. Vata.
5. Sponge.
6. Acrylic paint of white color (construction for painting walls).
7. A simple pencil.
8. Synthetic brush No. 0.
9. Fan brush.
10. Acrylic paints of red, green and black colors.
11. The varnish is silky matt.
12. Threads are half-woolen.
13.Hook 2.5 mm.
14. Thread and needle.
15. The wire.
The process of making the basics.
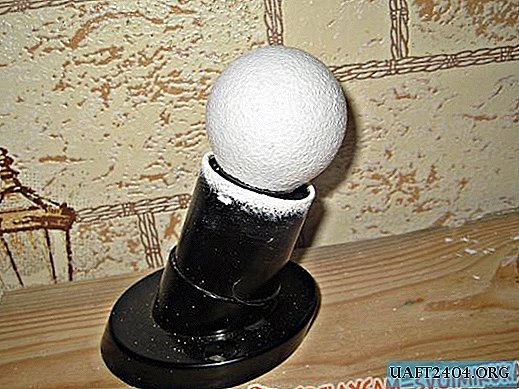
1. For convenience, install the light bulb in the stand.
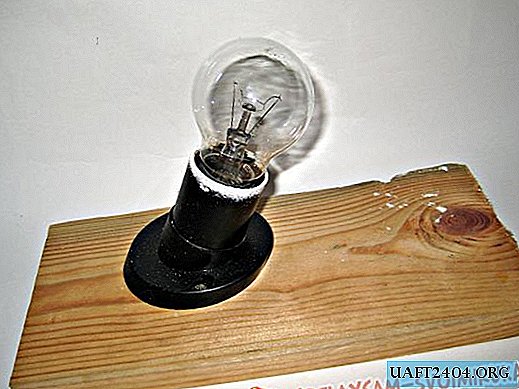
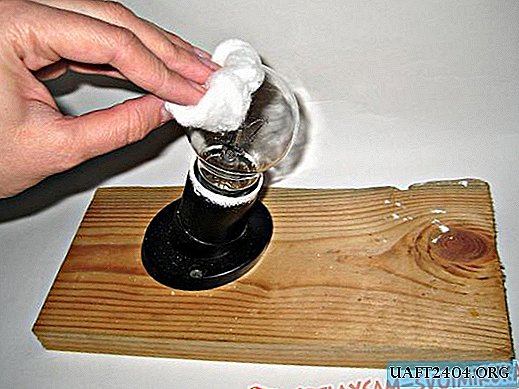
2. Then degrease the glass surface with acetone.
3. Then the bulb should be primed. To do this, apply a white acrylic paint to the light bulb with a sponge. Let the paint dry.
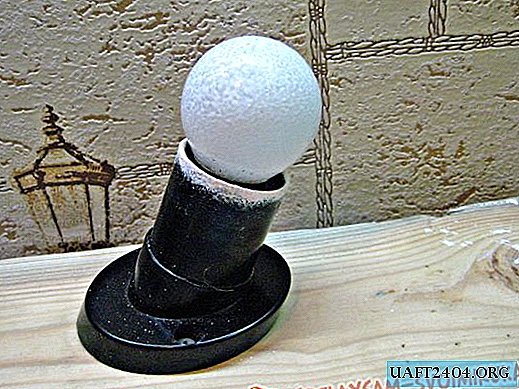
4. Since one coat of paint did not paint the surface and tears are visible, apply the paint again. We wait until the paint dries.
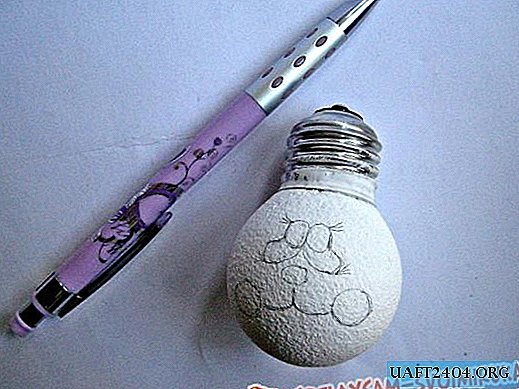
5. The main (glass) part of the bulb will serve as the head of the hare. We draw with a pencil the main lines of the bunny's face.
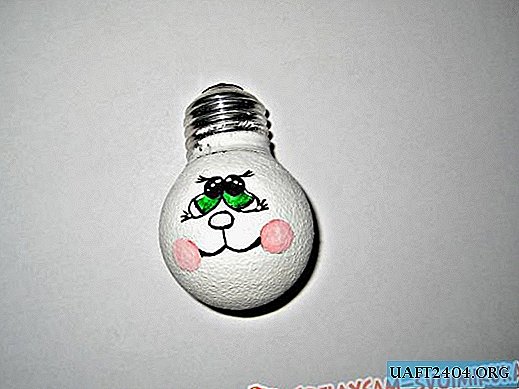
6. Using acrylic paints, paint the face.
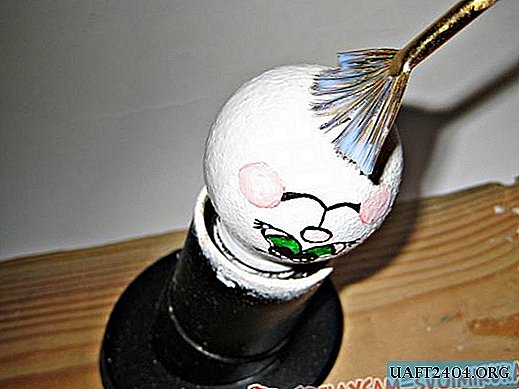
7. Finally, varnish the entire painted surface of the bulb.
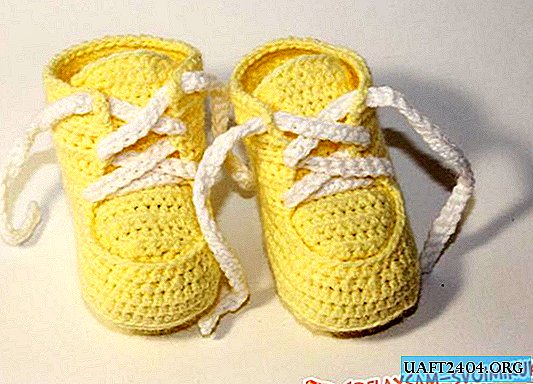
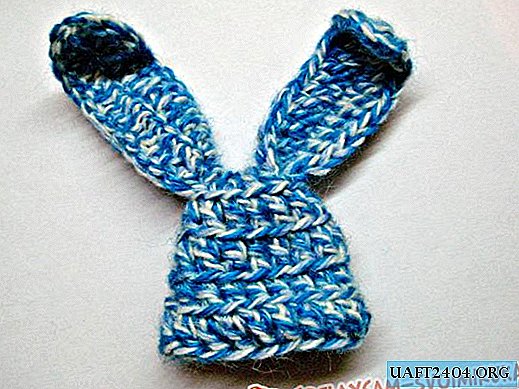
To hide the base and make the bunny more believable, we knit a hat.
1. First, we hook 4 air loops (VP).

2. Connect the loops to the ring.

3.Then we collect 2 VP, make 2 double crochet (CCH) in the loop of the previous row. We make a set of one VP and from this moment we repeat the set of loops to the end of the row. In conclusion, connect the row.
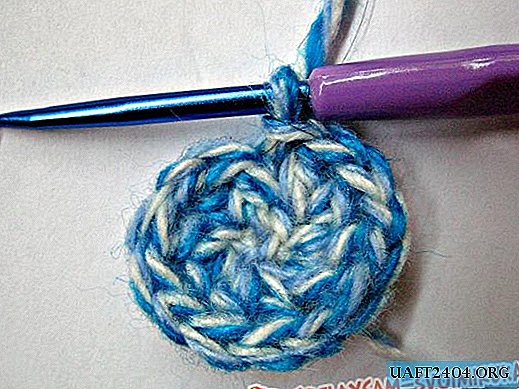
4.Then we knit in this way: we collect 2 VP, and then we make a set of CCHs in each loop of the previously knitted row.
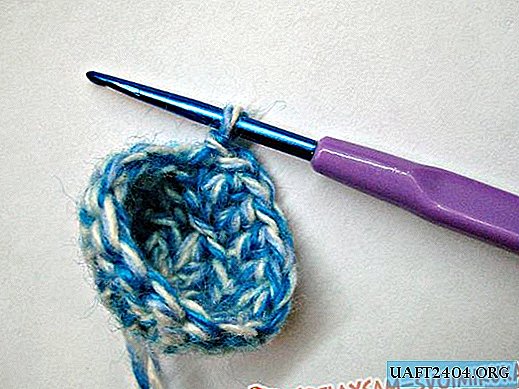
5. The next row will be knitted similarly to the previous one.

6. We complete the row of caps as before, 2 rows.

7. Turn out the cap.

8.Then proceed to knitting the ears. To do this, dial 14 VP.
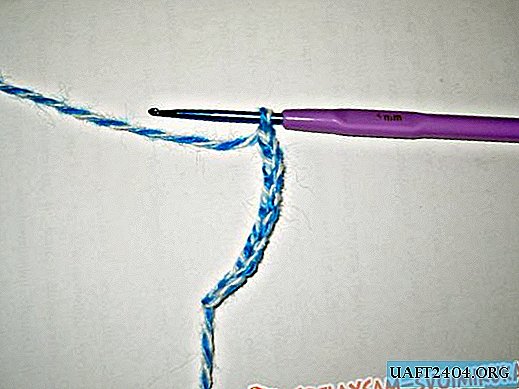
9. We begin to knit CCH, capturing under the 5th VP. We knit CCH to the last VP of the row. We do 3 CCHs under the extreme VP of the row. Then we collect 2 VP and again we knit 3 CCH. Next, repeat the set of CCHs in each VP.
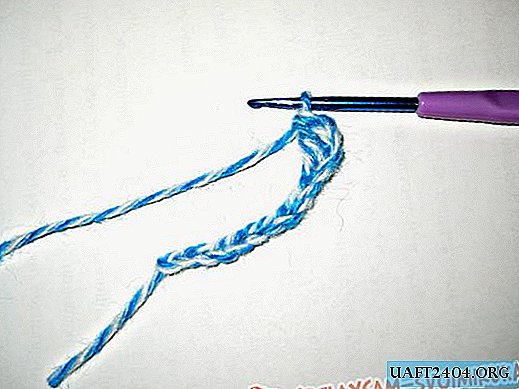
10. Cut the thread and fix it. The ear is ready.

11. In this way we knit the second ear. Ears for hats are ready.

12.Total 3 element of the header.

13.Now you need to sew the ears to the hat. For this base, we tighten the ears to the top of the cap and sew them on the wrong side. The hat is ready.
Decoration toys.
1.To make the toy hang on the tree, you need to make a loop. To do this, a small piece of wire should be soldered to the cap.
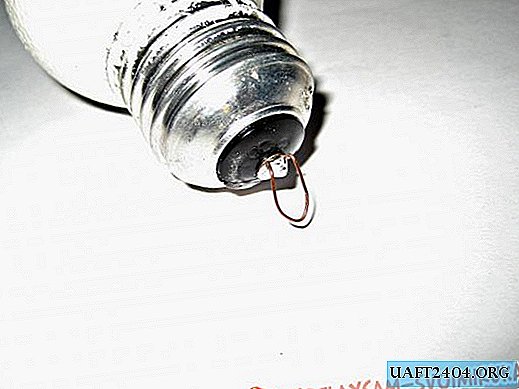
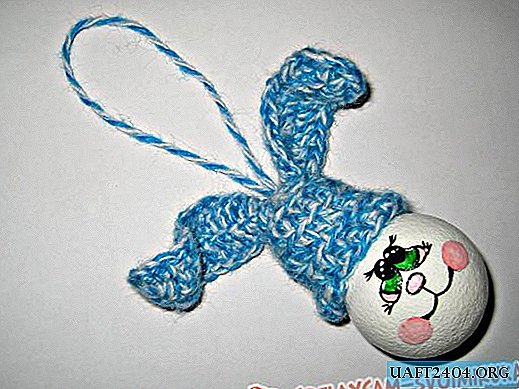
2. Through the loop obtained, we skip the thread and make a knot. Thus, we get the suspension.

3. Then we stretch the thread through the upper part of the cap. The toy is ready.
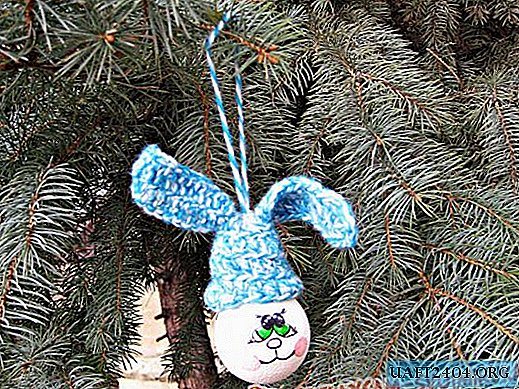
A toy from an old light bulb in the shape of a hare will become an original decoration for a Christmas tree and even a nice gift.
Share
Pin
Tweet
Send
Share
Send

