Share
Pin
Tweet
Send
Share
Send
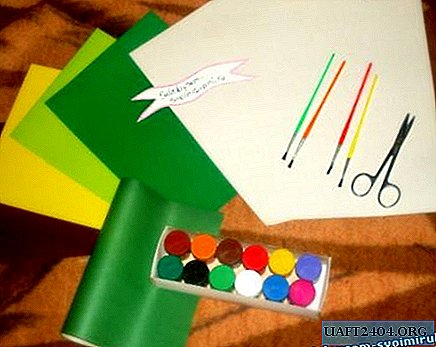
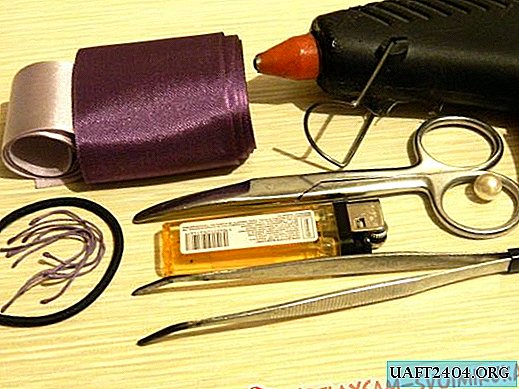
Necessary materials and tools:
- Hot glue.
- Sharp scissors.
- Tweezers.
- Lighter.
- Bead.
- Scrunchy.
- Stamens for a flower.
- 5 cm wide purple ribbon.
- Lilac ribbon 3.5 cm wide.
Preparation method:
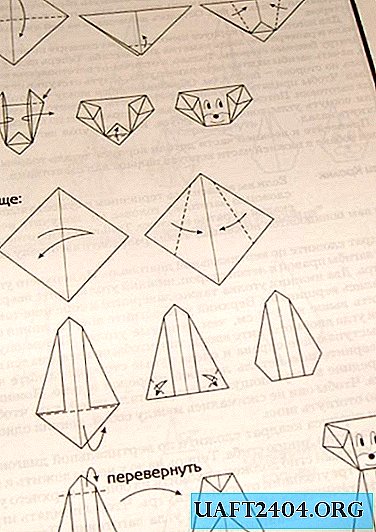
Make 6 rectangles of purple ribbon. The length of each segment should be 5.5 cm. Process the sections with fire.

Bend the line as shown in the photo.

Then bend it again by connecting the edges of the workpiece. This is how the blank should look at the back.

Expand the future petal to yourself and reduce it to the center of the edge of its base.

Now bend both ends of the base back. You will get a very unusual and voluminous petal.

Seal the end of the petal.

From the remaining segments, make the same petals.

Cut the purple ribbon into rectangles 7 cm long. Process the slices with a lighter.

Also prepare a square piece of this tape and a small piece to secure the elastic.

Make 6 purple petals just like you did purple.

Glue a series of large petals to the base of the flower with hot glue.

Between the purple petals, glue the lilac ones.

Now glue the stamens as shown in the photo.

From the purple ribbon, make 6 squares. Cut the slices.

Fold the square in half. Outside should be the front side of the tape.

Then bend the workpiece again.

Bring the edges of the workpiece together.

The end of the future petal must be carefully cut and processed.

Cut the back of the petal too.

Straighten the petal and process the cut.

Here is such a standard petal of "kanzashi" you should get.

From the remaining squares, make the same petals.

After applying hot glue to the sides of the petals, make a small flower out of them.

Glue it to the main product, and fix the bead in the center.

Glue an elastic band to the back of the flower and fix it with a piece of purple ribbon.

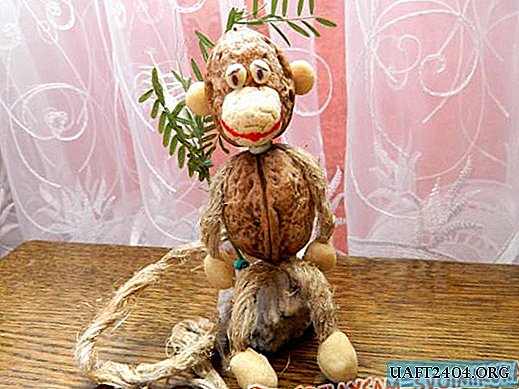
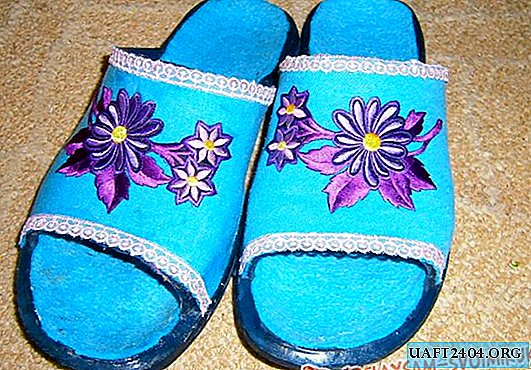
Now your stylish hair accessory is finally ready!


Share
Pin
Tweet
Send
Share
Send